Configuring my own internet – router on a stick with Netia and MikroTik.
Configuring my own router for internet was pretty… hectic. The whole issue is that ican`t be at two places at the same time. Some of us nerds like to have stuff on cable instead on infitnite packets floating around. Since i am paying for 1gbps i would like to have 1gbps . Even though i do had around 300 mbps on my wifi (v6) it is not the point. It just wasn`t right. My old laptop barely got any signal if i went to my working space. Laptop`s wifi was slower and the signal falloff was drastic, and it got lost from time to time. On my desktop too.
Developers problem
The Fiber to the Home goes as far as the home start. The electricity box 99% times right next to your homes entry door. Then You need to either have cables or squeeze the ont inside a next to the router and hope coverage will be good enough. God blessed me with some amount of grey matter and i had cables. The quirk – router was in the center of the living room for best coverage except “my spot” in next room.
Router on a stick with Netia
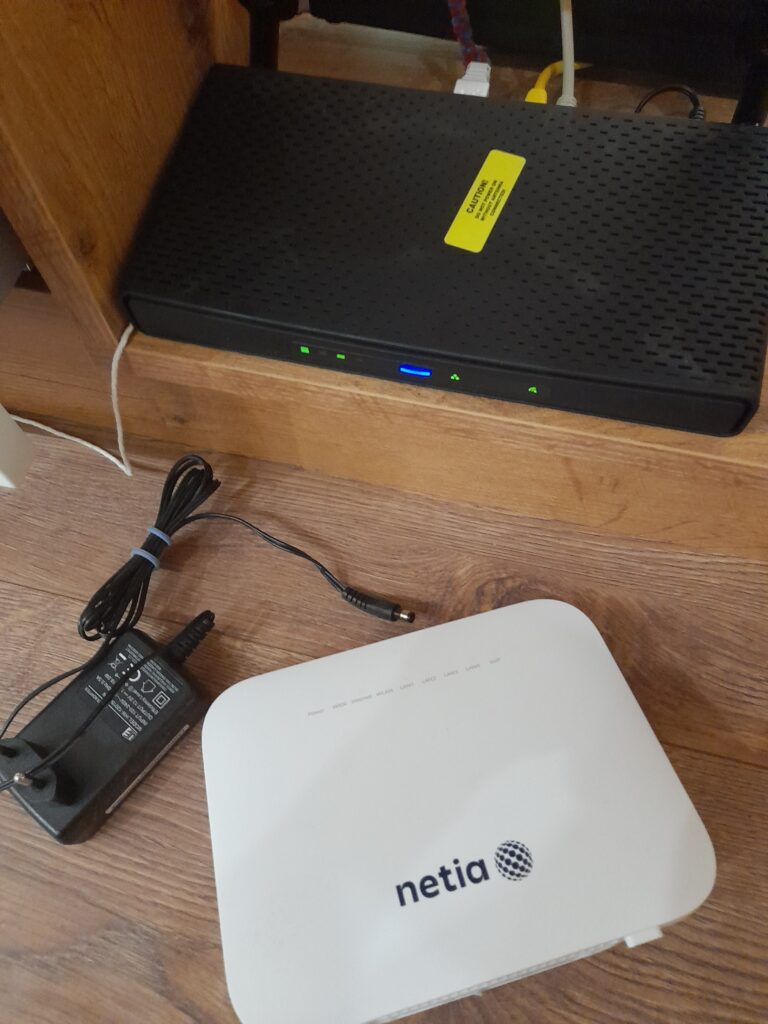
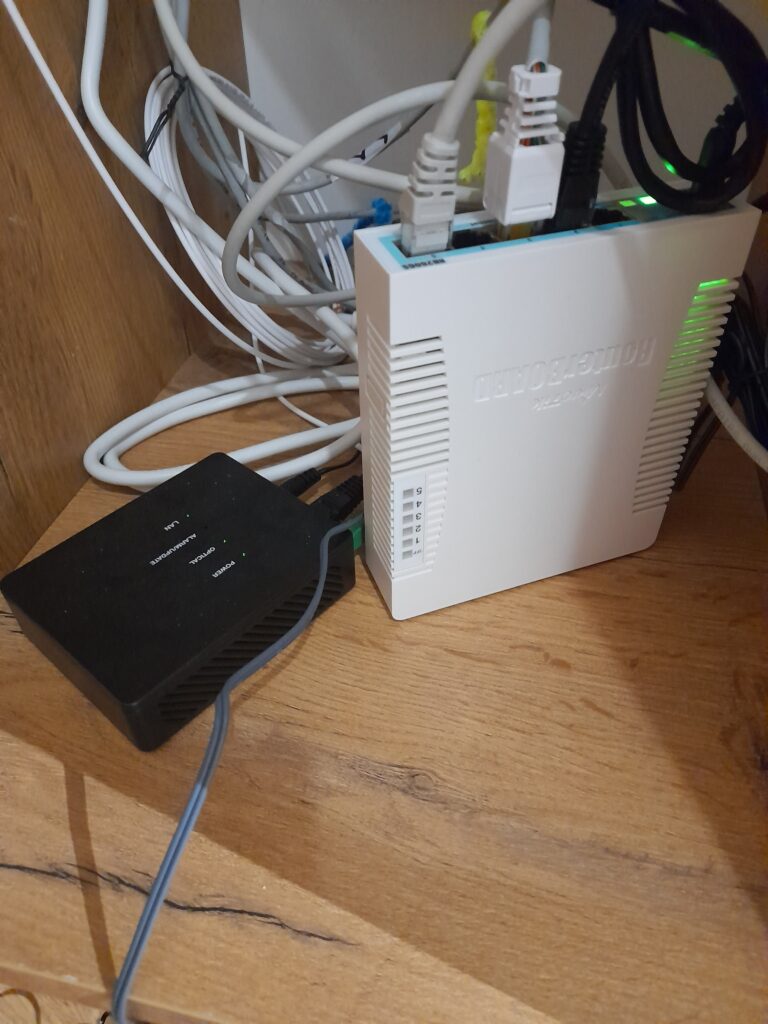
MikroTik RB260GS CSS-106-5G-1S with system MikroTik SwOS
MikroTik RouterBoard HAP AX3 (C53UiG+5HPaxD2HPaxD) – RouterOS
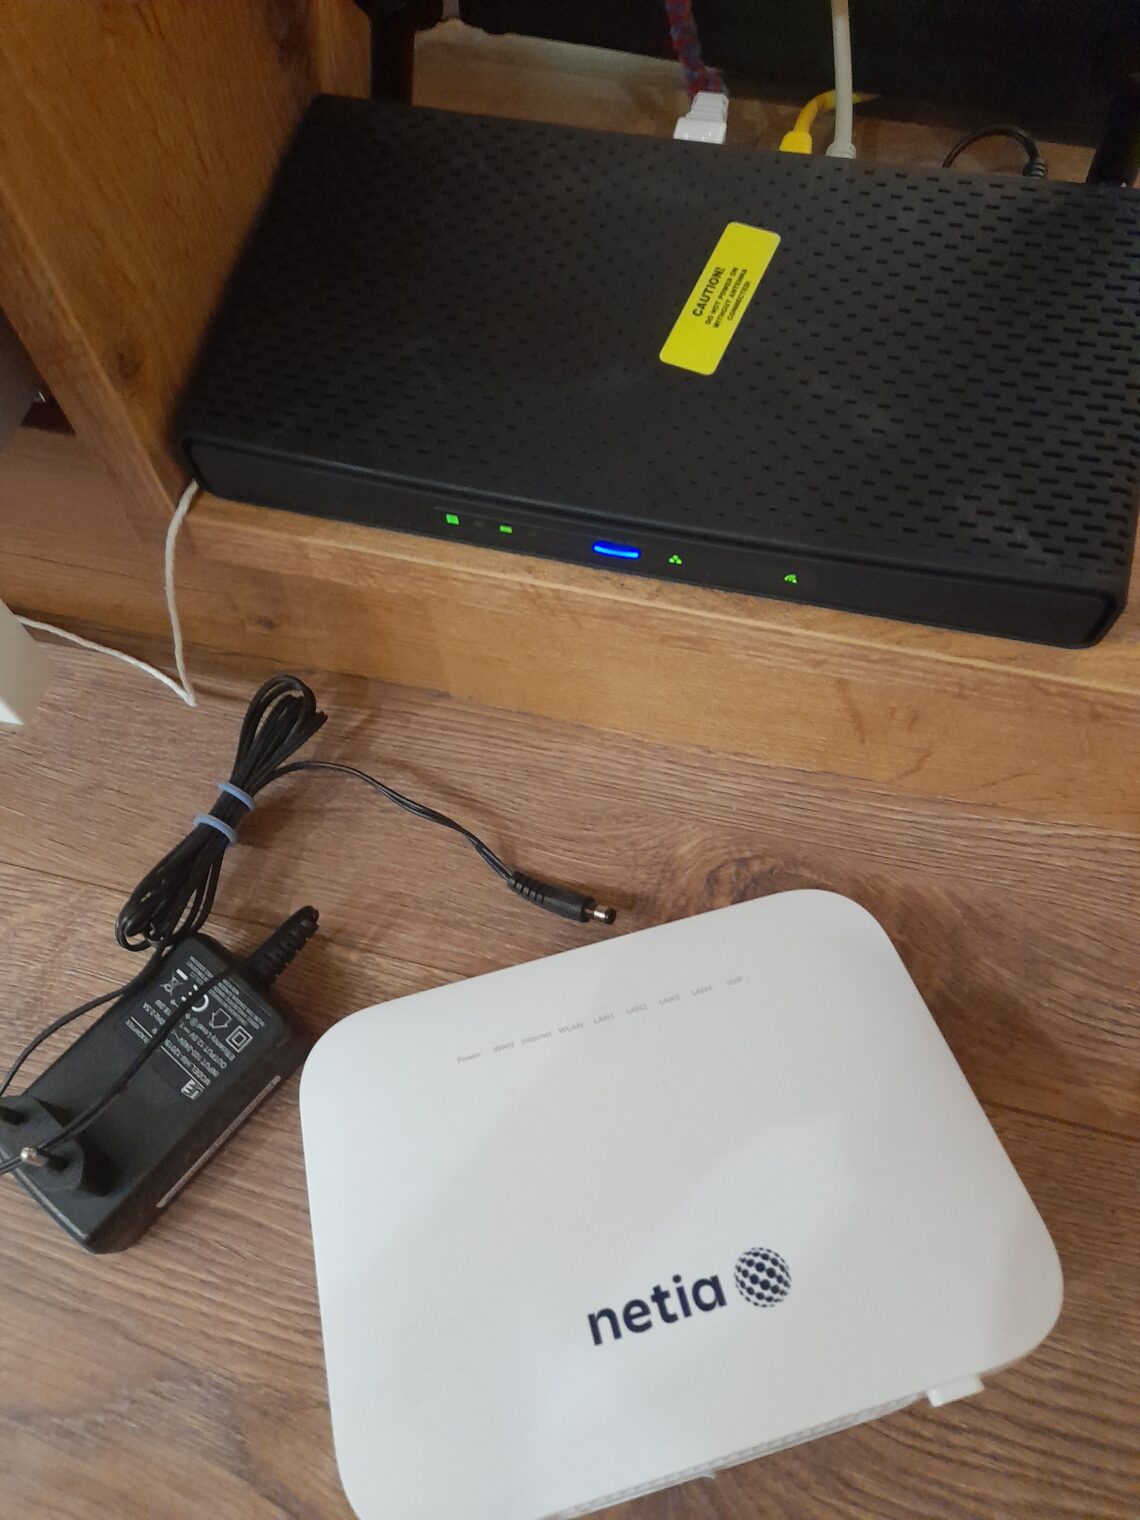
Netia is Polish comapny (part of Polsat group). The ping is decent, the web logging system is archaic, what`s not to like. I made decision based on the routing of their WAN and pings. Plus i get to use my own router so i can play and setup all that nerdy stuff i wont need.
It’s called “router on a stick” because the single cable contains all the lan, vlans and internet traffic, hanging off a single “stick.”
Configuring Your own router for the internet think about cables and topology. What goes where… and will it talk to each other. It is not simple plug and play, most of the time yes, not this time. The quirk, yet again, extend lan on the internet cable.
- Access ports (regular ports) are like single-lane roads – they carry traffic for ONE VLAN only
- Trunk ports are like multi-lane highways – they carry traffic for MULTIPLE VLANs on a single cable
- VLAN = Virtual Local Area Network. It’s like creating “virtual separate networks” on the same physical cables.
Why “optional” mode?
- Allows the port to accept tagged and untagged frames
- Untagged frames get the default VLAN ID
- Flexibility for expansion
VLANs Quick guide
Configuring my own internet router You need to split one physical cable into multiple virtual networks (lanes on a highway). Each Ethernet frame gets a small 802.1Q tag — a 4-byte header containing a VLAN ID (1–4094).
| Concept | Analogy |
|---|---|
| Physical cable | A highway with lanes |
| VLAN | A colored lane — traffic in different lanes doesn’t mix |
| VLAN ID | The lane number (35 = Internet, 36 = TV) |
| Tagged port | Traffic keeps its lane marking when leaving the port |
| Untagged port | Traffic loses its lane marking (for devices that don’t understand VLANs) |
Topology
REMEMBER !! Your switch has to be able to set up VLAN ids on its interfaces ! Those might be called “semi managed” switches.
Internet ── PPPoE ── ONT Netia
                      │
                      ▼
            ┌─────────────────────────────────────┐
Electric    │     Switch RB260GS - vlan managment │
box at the  │                                     │   -
door        │ Port 3    Port 1,4,     Port 5      │
            └────┬──────────┬──────────┬──────────┘
                 │          │          │
                 ▼          ▼          ▼
            ┌─────────┐  ┌────────┐  ┌──────────┐
            │VLAN 100 │  │ LAN    │  │  Trunk   │
            │ PC      │  │ P&P    │  │ 35/100   │
            │         │  │        │  │          │
            └─────────┘  └────────┘  └────┬─────┘
                                          │  this "trunk" can route on vlan100 my other lan trafic ! got 1 gbps !
                                          ▼
                          ┌────────────────────────────┐
                          │ Router HAP AX3             │
Living room               │ ┌──────────────────────┐   │  eth5 - WAN - vlan 35
                          │ │ VLAN 35: 192.168.35  │   │  eth1-4 + wifi1-2 -> bridge + dhcp - vlan 100
                          │ │ VLAN 100: 192.168.100│   │
                          │ │ VLAN 200: 192.168.200│   │
                          │ │ WiFi 2.4GHz | 5GHz   │   │
                          │ └──────────────────────┘   │
                          └────────────┬───────────────┘
                                       │
                   ┌───────────────────┼───────────────────┐
                   │                   │                   │
              Management          User/LAN           Guest WiFi
                                   VLAN 100             VLAN 200
Netia PPPoE – requires VLAN 35
Jak zalogować się do Netii i korzystać z włąsnego routera.
How to log into Netia and use Your own router. Log in and there You have it. Remember to set it on VLAN 35.
❌ What most tutorials show (does NOT work for Netia):
   ether1 ────────→ PPPoE ──→ NETIA-BRAS  ✗ ignored

✅ What actually works:
   ether1 ──→ VLAN 35 (802.1Q tag) ──→ PPPoE ──→ NETIA-BRAS  ✓ connecte
VLAN ID	Service
35	Internet (PPPoE)
36	IPTV
37	VoIP

/interface pppoe-client add name=netia interface=vlan35-netia user=your_login@netia.pl password=your_password ac-name=NETIA-BRAS add-default-route=yes disabled=no

/interface bridge port add bridge=bridge interface=ether2
/interface bridge port add bridge=bridge interface=ether3
/interface bridge port add bridge=bridge interface=ether4
/interface bridge port add bridge=bridge interface=ether5

/ip address add address=192.168.100.1/24 interface=bridge
/ip pool add name=lan-pool ranges=192.168.100.2-192.168.100.254
/ip dhcp-server add interface=bridge address-pool=lan-pool
/ip dhcp-server network add address=192.168.100.0/24 \
    gateway=192.168.100.1 dns-server=1.1.1.1,1.0.0.1
/ip dns set servers=1.1.1.1,1.0.0.1 allow-remote-requests=yes

/ip firewall nat add chain=srcnat action=masquerade out-interface-list=WAN

Look for:

Flags: R - running
 0  R  name="netia" interface=vlan35-netia ...
       ac-name="NETIA-BRAS"
The Huawei router Netia provides already has VLAN 35 pre-configured. When you replace it with your own router, you must add it yourself.
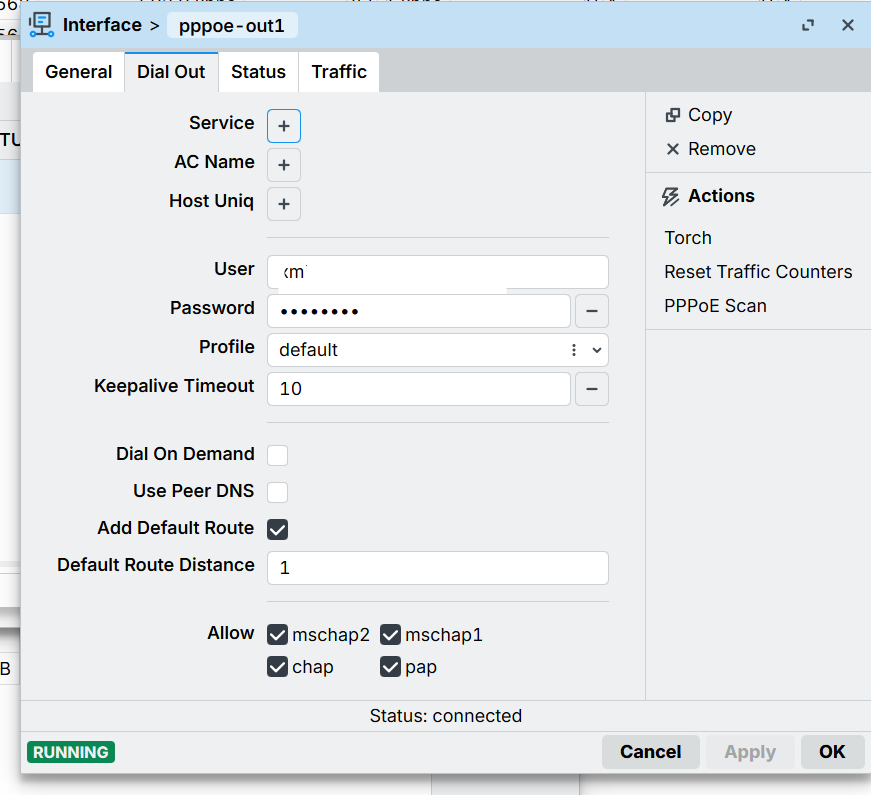
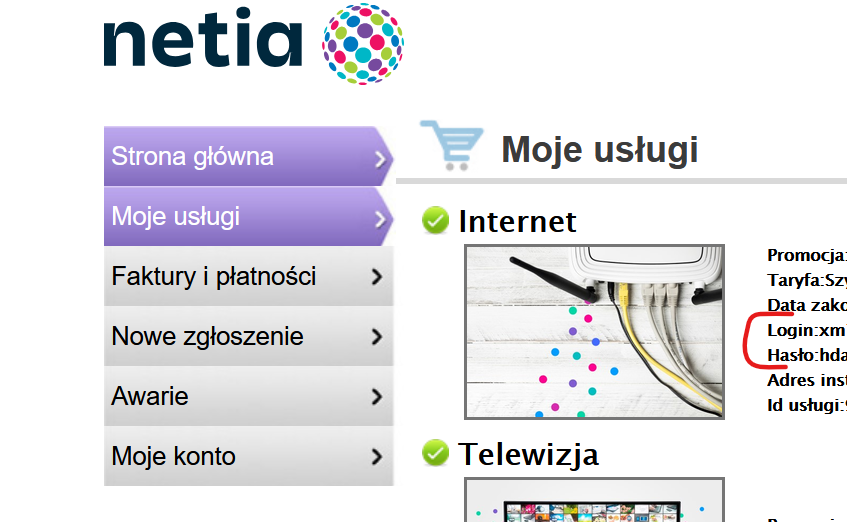
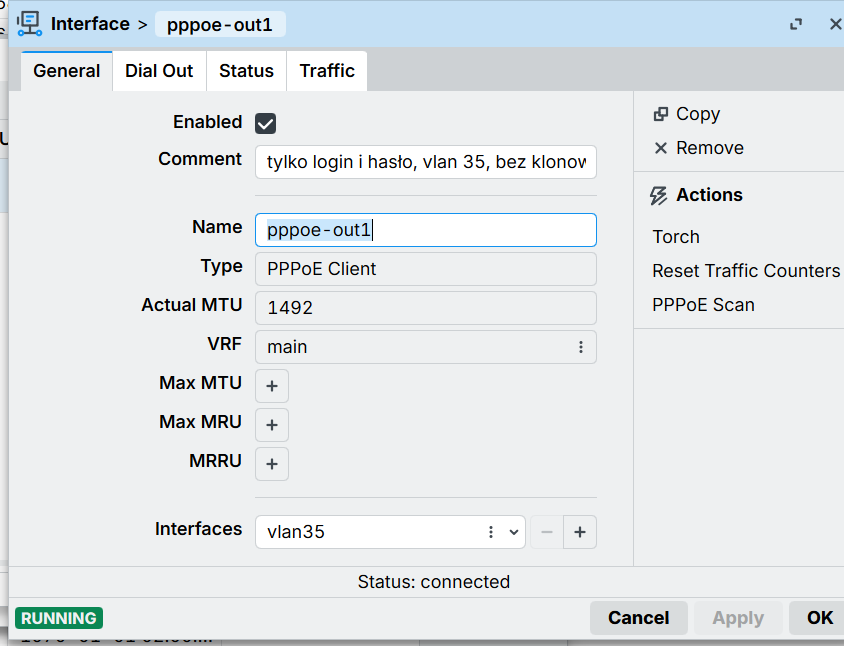
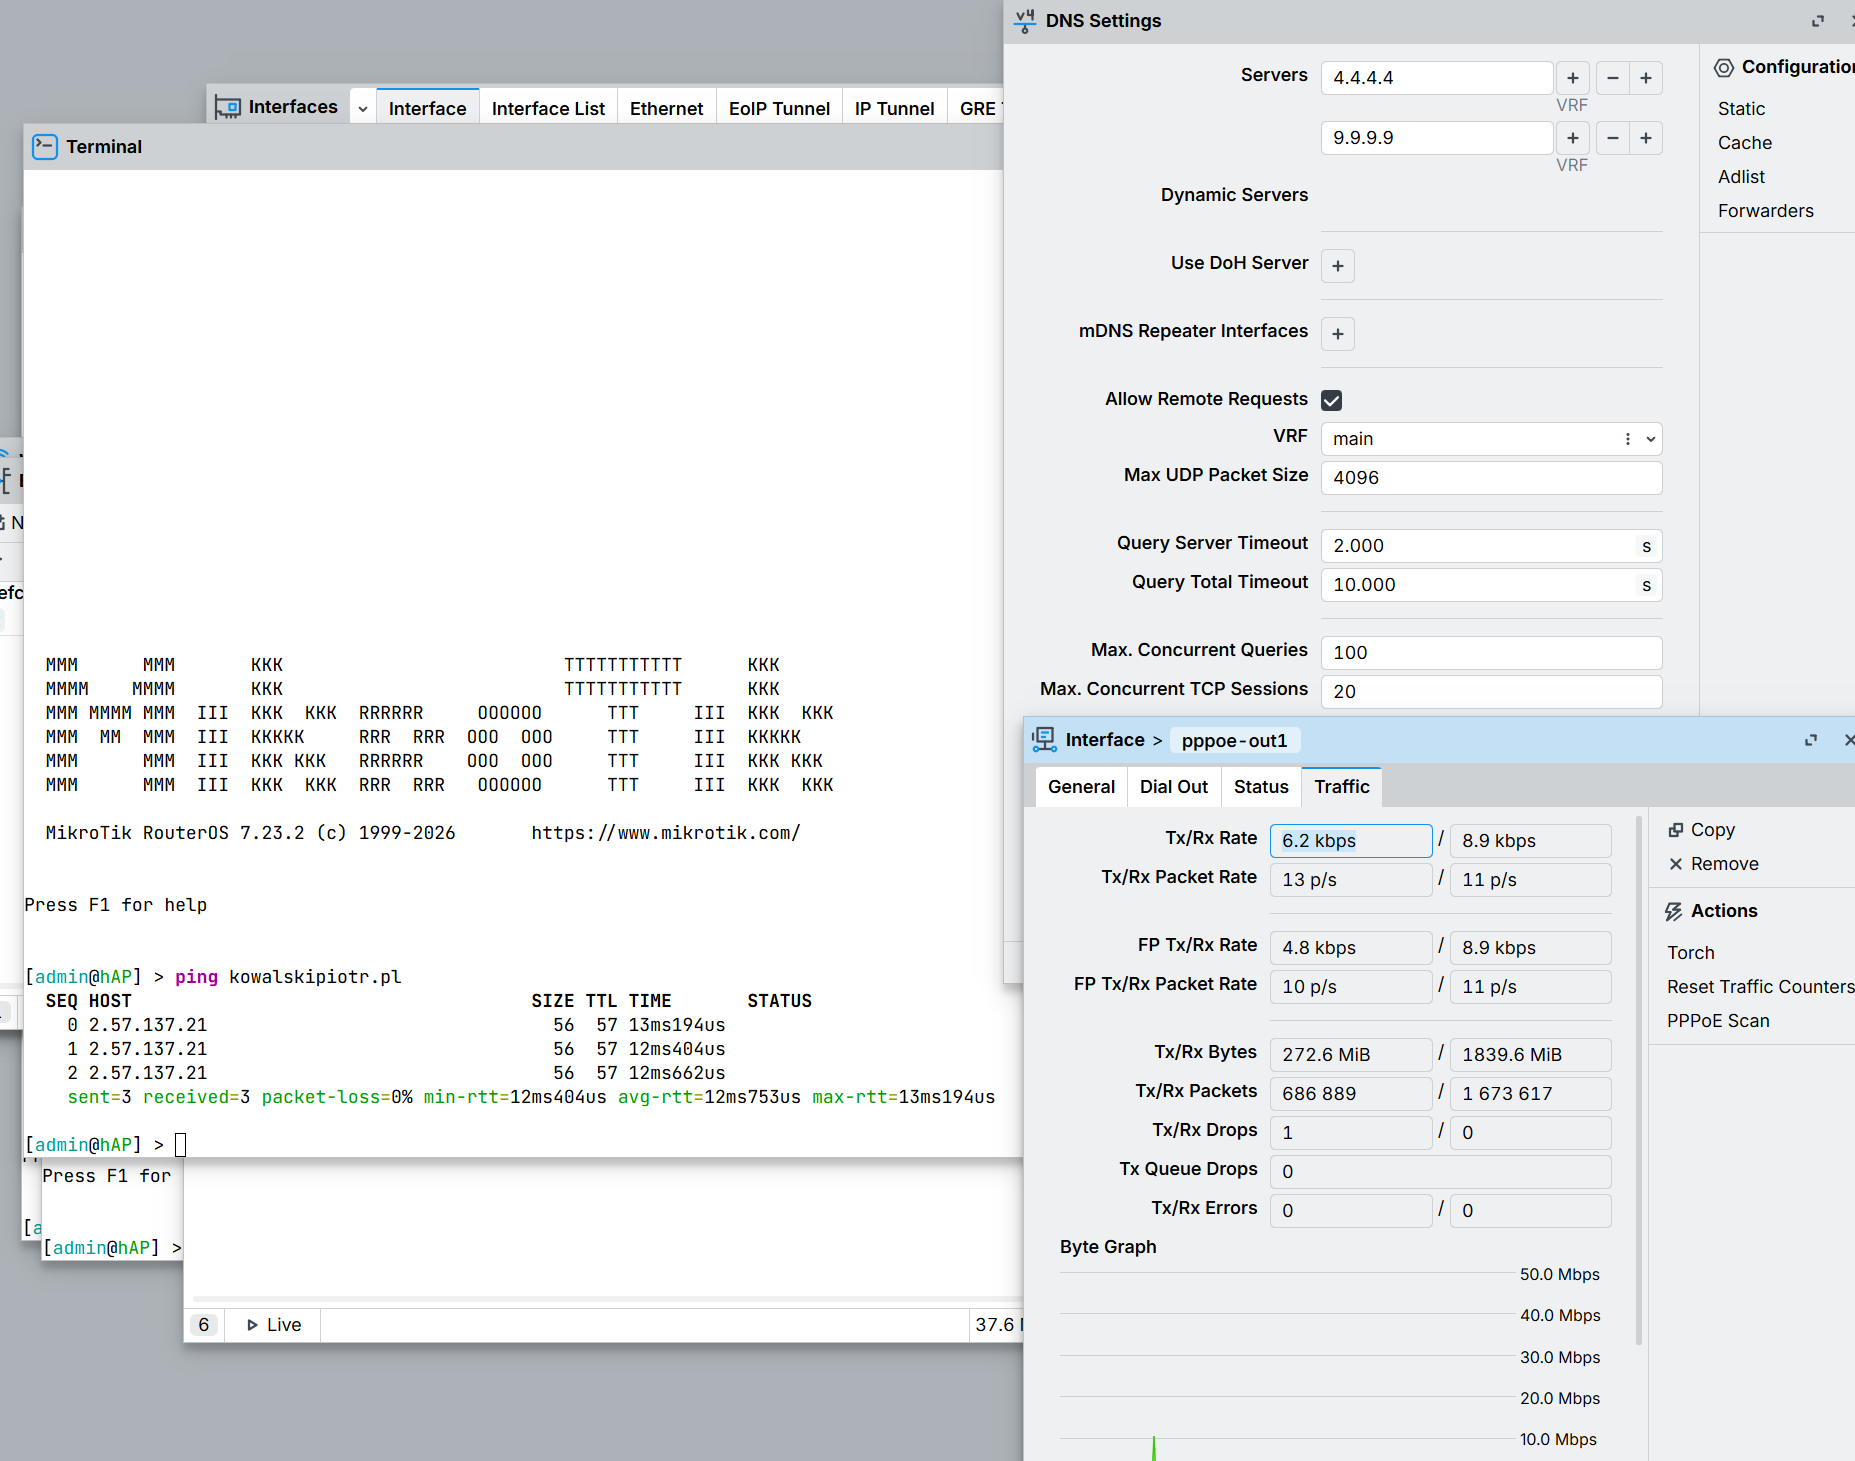
For starters plug Your ONT ethernet directly to Your router. On the given port create a VLAN ID 35. Then create a PPoE client and just input the login, password and set up a dns so you can test from termin using ping kowalskipiotr.pl.
Switch setup
REMEMBER !! Your switch has to be able to set up VLAN ids on its interfaces ! Those might be called “semi managed” switches.


Summary
It is realy hard when You break thing and you need to run and replug the router and reset it cause you bricked the config. Happens. Be aware. When You can connect only through wifi because the device is far help to have a long ethernet cable somewhere around or connectors so you can plug and troubleshoot some connections directly.
AI – Claude Haiku 4.5 network engineering expert
Yeah…. not so much. This is quite simple topology and i had to recheck andverify everything mutliple times.Configuring my own internet router wasn`t THAT easy. A lot easer to write a ff plugin. In addition reading about what exactly what tab – Van vs VLAN, Ingres and Egress is doing in cooperation with the rest. In the end it was helpful. When You did set up the connection to the terminal it is a lot easier to use those script and ddebug using some AI agent. On the other hand they provide you everything with just command lines. It is hard to debug and understand how to do it without know it by heart and remembering everything.
THis is why i prefer to click, at least i will remember andlearn something for later.
In the end it is nice to fetch the docs and ask questions a lot faster then searching stack.
On the other hand i hope i won`t loos the ability of critical thinking, thats still on us.
Good luck with the config, had a lot more problems with vland and lockouts that i would care to admit. Finallly, did it 🙂
PRO TIP : Before diving into setting up your own router instead of that one you got from the provide read and read deeply about vlans 🙂
Cheers and good luck.